When I moved into my narrow, slightly gloomy hallway last autumn, I knew I couldn't afford — or needed — a full renovation. What I did have was a budget (£50), a small Ikea runner (the sensible, machine-washable kind), a couple of spare picture frames, and a taste for small, thoughtful changes. The result surprised me: a hallway that now feels welcoming, practical, and much brighter. If your entry feels tight or unloved, here’s how I transformed mine using a £50 Ikea runner and simple styling choices you can copy this weekend.
Why the runner matters more than you think
Runners do two jobs at once: they protect floors from scuffs and create a visual path that makes a narrow space feel intentional rather than a leftover corridor. Choosing a runner with a light pattern or warm tones immediately softens the space and draws the eye forward. My Ikea runner (I picked one from the RENS sheepskin-alternative range — machine washable and surprisingly sturdy) cost under £50 and became the backbone of the design.
What I did first: measure, plan, and be realistic
I started with some quiet measuring. I measured the hallway width at three points — near the door, mid-hall, and by the stairs — because older houses are seldom perfectly square. My runner was 65cm wide, and my narrowest point was 70cm, so it left a comfortable 2.5–3cm of floor visible on each side, which felt balanced.
Key practical rules I follow now:
- Leave at least 5–7cm of floor space on each side if possible — it frames the runner and avoids a cramped look.
- Keep the runner length a few centimetres short of doorways so it doesn’t get trapped under doors.
- Choose a pattern or colour that conceals foot traffic — thin stripes or small geometrics are forgiving.
Materials and tiny budget breakdown
| Item | Why I chose it | Approx. cost |
|---|---|---|
| £50 Ikea runner | Durable, washable, good value | £50 |
| Non-slip underlay (offcut/brand) | Keeps runner in place; safety | £8 |
| Wall hooks (simple brass or black) | Practical styling for coats and bags | £10 |
| Small mirror | Reflects light, opens up the space | £12 (charity shop find) |
| Framed print / art | Personal touch | £6 (print + cheap frame) |
| Total | ~£86 |
Note: I used some items I already had (a small bowl for keys and a wooden stool). If you stick strictly to £50 you can still do the runner + non-slip and rearrange existing pieces to make it feel complete.
Step-by-step: laying the runner like a pro
Once I had the runner, I followed a simple routine to make sure it looked intentional and stayed put.
- Clear the hallway completely. Removing everything — shoes, coats, frames — makes the space feel more open and lets you see what you’re working with.
- Vacuum and damp-mop the floor. A clean surface means the runner sits flatter and looks fresher.
- Lay the runner out and check positioning. I centred mine visually, leaving the same margin on both sides. If you have a door at one end, keep the runner slightly back from the threshold.
- Use a non-slip underlay cut to runner size. Ikea sells one; so do most carpet shops. This prevents slips and reduces movement when people walk over it.
- Straighten and tuck the ends. I folded a little under at the ends for a neat finish and used thin double-sided tape under the edges where needed in high-traffic homes.
Styling tips that make the hallway feel welcoming
After the runner was down, I focused on three things: light, function, and personality. Here’s what worked for me:
- Light: I added a small LED wall sconce (plug-in style) in a warm tone. If rewiring isn’t an option, a battery-powered picture light or a plug-in table lamp on a tiny console helps the space feel cosy without major work.
- Mirror: A mirror opposite the runner reflects natural light from the front door and visually doubles the width. My mirror is slightly antiqued and has a warm brass frame — it helps add character in a small way.
- Hooks over a bulky coat rack: Low-profile wall hooks keep coats tidy and don’t steal floor space. I installed a row at two heights — one for adult coats and one lower for children's bags or umbrellas.
- Small landing spot: A narrow console, a floating shelf, or even a wall-mounted tray keeps keys and post organised. I use a shallow ceramic bowl and a slim wooden tray — nothing taller than 20cm.
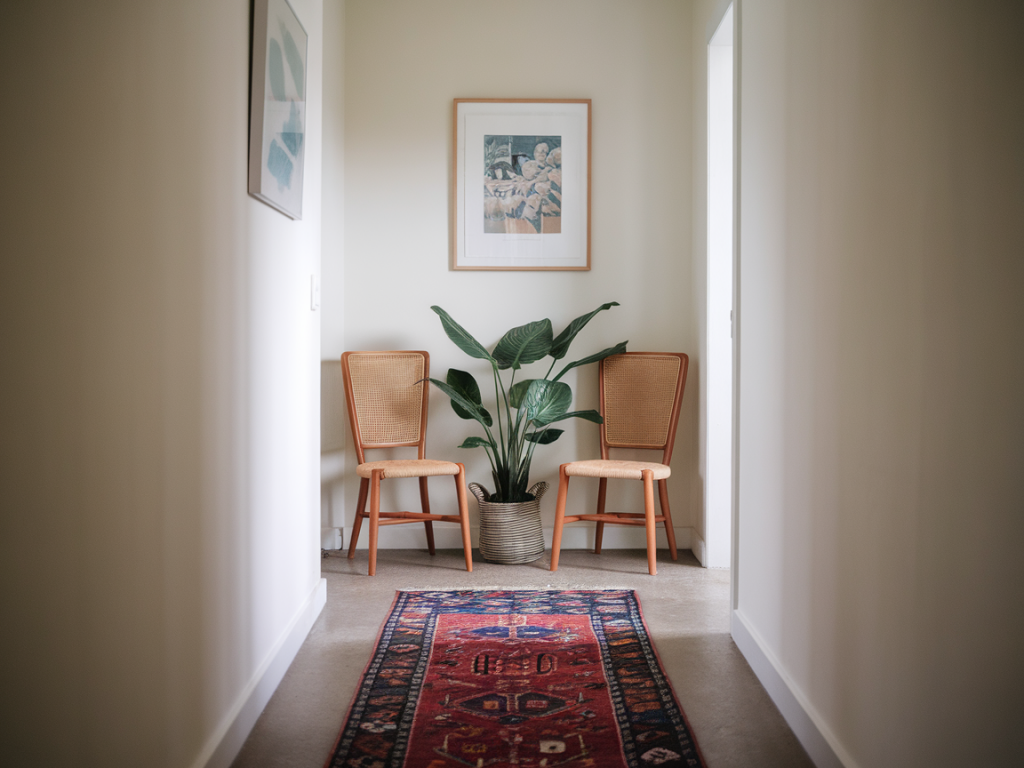
- Artwork in a cluster: A small gallery of prints near eye level adds personality. Keep frames in a consistent finish (all black or all wood) for cohesion. I used two small, calm prints and a vintage postcard in mismatched frames for a lived-in feel.
- Greenery: A single trailing plant on a high shelf or a small potted plant on a stool adds life without clutter.
Storage and clutter control
Hallways easily become dumping grounds. The key is small, attractive storage that encourages use. My favourites:
- A narrow shoe tray hidden under a bench or stool keeps shoes tidy. I slide mine under a small pine stool when not in use.
- Hooks with labelled baskets or canvas bags for scarves and gloves — grab-and-go organisation.
- A slim umbrella stand (metal or woven) tucked into a corner. It won’t take much space but saves mornings.
What to avoid
It’s easy to overdo a narrow hallway. I learned the hard way that too many items reduce the feeling of flow. Avoid:
- Oversized furniture. A large console immediately makes a hallway feel cramped.
- Dark runners without contrast if your hallway is windowless — they make the space feel smaller.
- Hanging pictures too low or too high. Aim for eye level when standing (around 145–150cm from floor to centre).
Small rituals that keep it feeling fresh
Once the physical work was done, I created tiny habits to maintain the welcome: a quick sweep every morning, a nightly check to put stray shoes away, and a Saturday reset where I fluff the runner and wipe the console. These five-minute rituals make the hallway feel cared for — and that care changes how I feel stepping into the house.
If you try this, start small: lay the runner, add one hook, and move art you already own. You might be surprised how quickly those modest changes shift the tone of your home. If you’d like, I can share a short checklist you can print and take to the shop or to Ikea — tiny practical steps are my favourite kind of change, and I love hearing how readers adapt them to their homes.