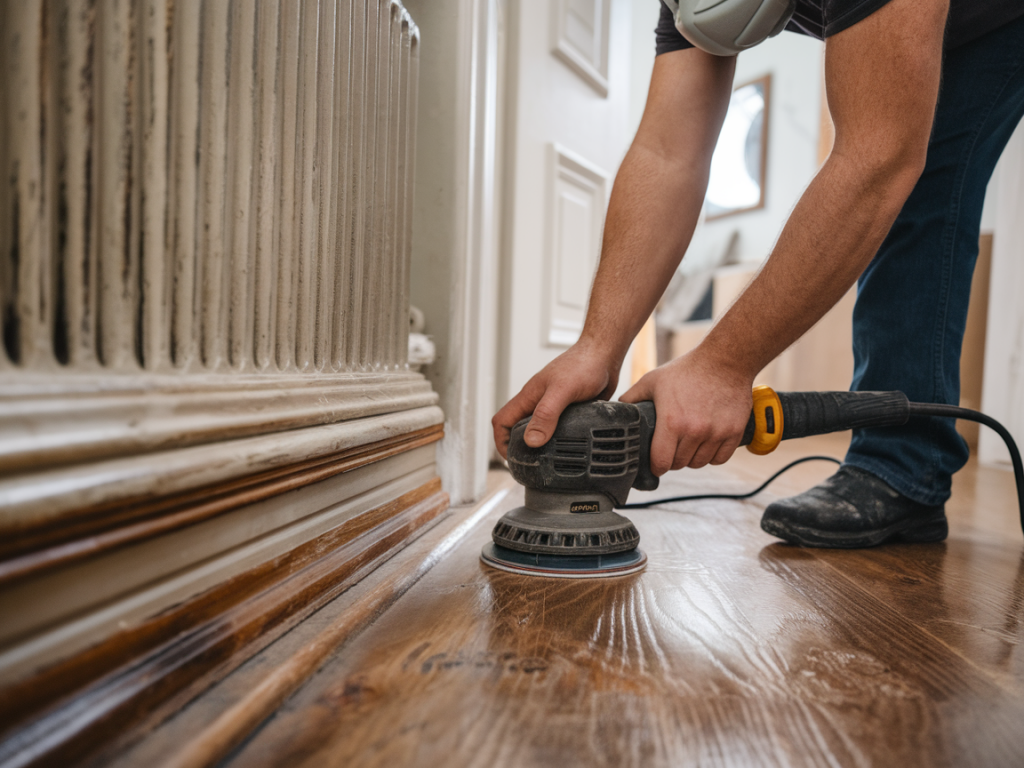
I have a soft spot for small, satisfying makeovers — the kind that don’t need power tools, big budgets or confidence with a paintbrush. Recently I tackled a pair of scuffed, tired skirting boards with a £15 kit and no repainting skills, and I was thrilled with the result. If your skirtings are looking marked up around doorways or behind furniture, this method will give them a fresh, neat look without stripping, priming or repainting. Here’s exactly how I did it, what you’ll need, and the little tricks that made the job feel calm and achievable.
Why this works (and who it’s for)
Skirting boards take a lot of abuse: shoe scuffs, vacuum grazes and accidental knocks. Often the damage is superficial — scuffs, worn paint chips or small dents — which means you don’t need to repaint the whole board. The approach I used blends and repairs those marks so they’re visually gone, even from a short distance. It’s ideal if:
- You want a quick refresh before guests arrive or a flat viewing.
- You don't want to deal with smells, drying time or the learning curve of painting.
- You have small areas of damage rather than entire boards needing replacement.
What’s in the £15 kit
I put together a small kit from local hardware and a budget-friendly online shop. You can buy the items separately or find a pre-made skirting repair set — but this list is what worked for me and totals around £12–£18 depending on brands.
| Item | Why I chose it | Approx. cost |
|---|---|---|
| Magic eraser / melamine sponge | Lightens surface dirt and scuffs without chemicals | £2–£3 |
| Wood filler stick or pre-mixed filler | Fills small dents and gouges cleanly | £3–£5 |
| Touch-up paint pen or wood repair marker (white/cream) | Camouflages chips and matching colour quickly | £3–£6 |
| Fine-grit sanding sponge (120–240) | Feather edges and smooth repaired areas | £1–£2 |
| Lint-free cloth | Clean and prep surface | £0–£2 |
Step-by-step: how I refreshed my skirting boards
I worked in short bursts over two evenings while keeping tea nearby. Each step is friendly to beginners and doesn’t require any special ventilation or protective gear beyond a cloth and perhaps an old shirt.
- Clear and clean. I started by running a hand over the skirting to feel the scuffs. Then I wiped the board with a damp lint-free cloth to remove dust. For stubborn marks, I used a damp magic eraser gently — it lifted scuffs without damaging the surrounding paint. Take care near corners or thin decorative edges; a light touch does the job.
- Assess the damage. Look for chips where paint is missing and deeper dents. If paint is flaking off, scrape away any loose bits gently with your fingernail or a flat tool. My chips were small — the kind that collect dirt and look greyer than the rest of the board.
- Fill dents and chips. For small gouges I used a wood filler stick. It’s like a wax crayon, so you press it into the hole and smooth the surface with a wet finger or tool. For slightly larger areas, a pre-mixed filler applied with a small spatula works well. I find the stick less messy and quicker for touch-ups.
- Feather and sand. Once the filler had set for the time indicated (often just 10–20 minutes for sticks), I gently smoothed the repair with a fine-grit sanding sponge. The goal is to blend the filler into the surrounding paint so there’s no visible ridge. Use light, even strokes and check with your hand to feel when it’s smooth.
- Colour correct. This is where the touch-up pen or repair marker shines. Choose a shade that’s slightly lighter rather than darker if you’re unsure — it’s easier to deepen a tone than lift it. Apply the pen in thin layers, letting it dry between coats to match the surrounding paint. For larger areas, use a small artist’s brush to dab and blend.
- Buff and final clean. After the touch-up is dry, give the board a final wipe with a clean cloth to remove dust. For a subtle sheen match, I sometimes gently buff with a microfibre cloth — this evens out the finish and helps the repaired area blend in.
Tips I learned the easy way
- If you're not sure about the colour, test the pen on a hidden section or the back of the board. Lighting changes how white looks, so check in natural daylight.
- Work in small areas rather than trying to fix a whole room at once. Success in a 1-metre stretch will tell you if you need to tweak technique or materials.
- For glossy skirtings, a small dab of clear satin varnish (available in sample sizes) over the repair can help match sheen — just use a tiny brush.
- Keep a scrap of the filler and pen in a labeled bag for future touch-ups — it’s far easier to touch up new marks than redo a faded repair.
Common questions
Will this last? For normal household wear, yes — these repairs hold up well. They’re less robust against heavy knocks or repeated abrasion, in which case a repaint or replacing a board might be better.
Can I use this on coloured skirting boards? Absolutely. Look for repair markers that match your tone. For more unusual colours, a dab of acrylic paint from a small sample pot applied with a tiny brush will do the trick.
What about gaps between the wall and skirting? This kit doesn’t replace caulking. For visible gaps, a small tube of decorator’s caulk applied with a finger or caulking tool gives a neater finish before touch-ups.
A small project, a noticeable lift
After working through two short sessions my hallway looked cleaner and fresher. The scuffs that once caught my eye every time I passed were gone; the space felt lightly cared for rather than neglected. The satisfaction of a little change, done slowly and kindly, is exactly why I reach for these small projects — they’re accessible, inexpensive and instantly rewarding.
If you try this method, I’d love to hear which products you used and how the results looked in your home. Share a note on the blog or drop a photo — I always enjoy the small victories from readers who’ve given these ideas a go.