I once discovered a small tear in the seat cushion of my favourite armchair just as guests were arriving. My instinct was to panic — the chair has a cosy, lived-in look I love, and I didn't want an obvious repair or to be stuck with needle and thread mid-afternoon. Over the years I've learned a few quick, tidy ways to mend small tears without sewing or reupholstering, and I now treat them as little restoration projects that keep a piece usable and beautiful.
Below I’ll share the methods I use most often, why I choose them, and clear, practical steps so you can fix a tear in a sofa cushion without breaking out your sewing kit. These techniques work well for small rips (about palm-sized or smaller) and for fabrics like cotton, linen blends, microfiber, velvet, and many synthetic upholstery fabrics.
Before you start: assess the tear and the cushion
First, check whether the cushion cover is removable. If it is, take it off — repairs are easier on a flat surface and you can work from the inside. If the cover isn’t removable, you’ll still be able to mend many tears, but you’ll need a steady hand and a small ironing board or folded towel to support the area.
Next, examine the fabric. Is the tear a clean cut, a long split, or a fraying hole? Is the backing fabric intact? These details determine the best approach. Also check what’s underneath — if the foam is exposed, push it gently back into place so you have a smooth surface to work on.
Tools and materials I keep on hand
Method 1 — Invisible mending with fusible web (my favourite for clean tears)
This method creates a neat, almost invisible repair from the inside of the cover. It’s my go-to when the fabric edges lie flat and the tear isn’t too ragged.
Tip: Test heat settings on a hidden area first to avoid scorching delicate fabrics like velvet.
Method 2 — Surface patch with adhesive-backed fabric (fast and tidy)
When the tear is near a visible spot or you don’t want to open the cushion cover, an adhesive-backed patch can blend in nicely. It’s especially good on leather or faux leather.
These patches come in a range of colours and textures; choose one that matches as closely as possible. For fabrics, look for patches advertised for upholstery rather than garment repairs.
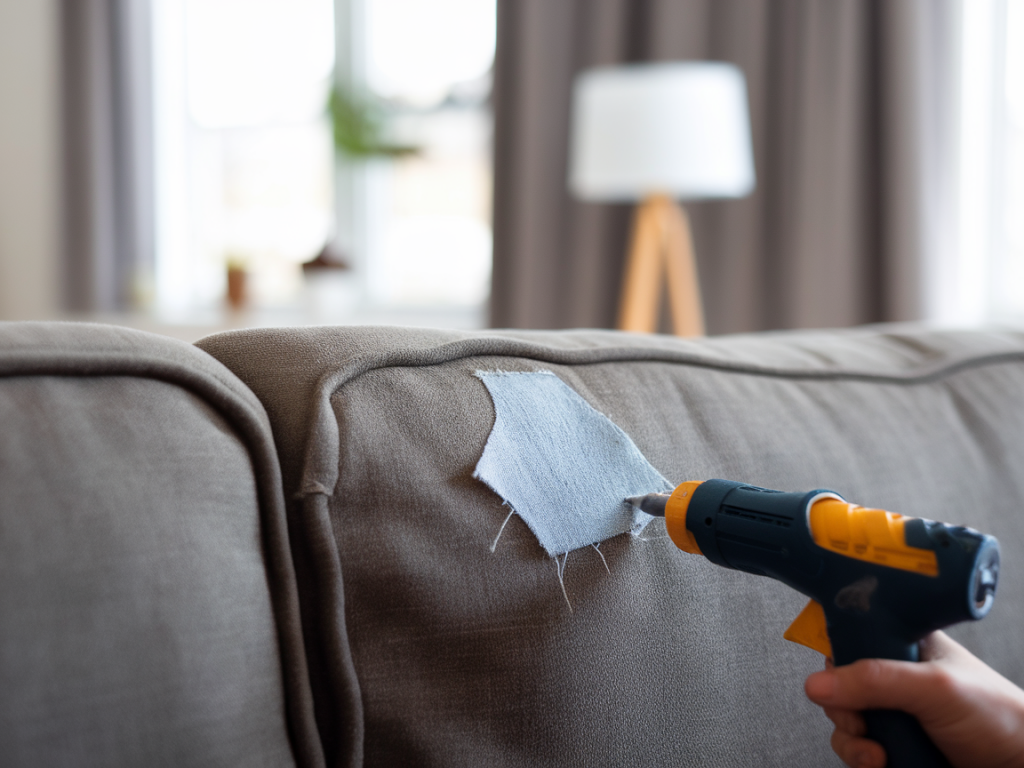
Method 3 — Fabric glue plus an internal backing (best for frayed or irregular holes)
When the edges won’t lie neatly together, I glue them to a small internal backing for a tidy finish without stitching.
Fabric glue remains slightly flexible and is ideal for softer, more textured fabrics. I like Tear Mender for quick set times and Aleene’s for a strong, washable bond.
Method comparison
| Method | Best for | Pros | Cons |
| Fusible web | Clean tears, removable covers | Invisible, durable | Requires heat; not for all fabrics |
| Adhesive-backed patch | Leather, faux leather, quick surface fixes | Very fast, neat | Can be visible; limited colour match |
| Fabric glue + backing | Frayed holes, irregular tears | Flexible, good for textured fabrics | Requires drying time; possible stiffness |
Finishing touches and care
Once repaired, avoid heavy abrasion on the area for a couple of days. If you used fusible web, allow the bond to cool completely before handling. Many of these repairs will tolerate gentle washing, but always check the product instructions — some adhesives are not suitable for machine washing or high heat.
Finally, camouflage small repairs by re-fluffing the cushion, arranging a throw, or tucking a decorative cushion over the area. A tiny fix can be both functional and charming if you treat it as part of a lived-in home.
These are the methods I reach for when I want a quick, neat fix without sewing. If you’re ever unsure, practice on a scrap first — it’s the best way to learn how a fabric will respond to heat or adhesive. And if a repair feels beyond a simple patch, a professional upholsterer can always make it disappear entirely. For small tears though, a little glue, a bit of fusible web, and a careful hand will usually do the trick.