There’s nothing quite like the jolt of a washing machine thumping across wooden floors to ruin a calm morning. I’ve had that sinking feeling — the machine marching across my utility room, leaving scuff marks and making the whole house feel less steady. After a few experiments (and one embarrassing afternoon of holding the machine in place while it spun), I found a simple, cheap, and surprisingly effective fix using felt pads, a plywood shim, and a handful of £10 tweaks. I’m sharing the method I used so you can stop the noise, protect your floor, and sleep a little easier.

Why washing machines thump and walk

Before we fix anything, it helps to understand why it’s happening. Most washing machine movement comes from one or more of these issues:

  • Uneven or sloping floors
  • Unleveled machine feet (or missing feet pads)
  • Worn or hardened rubber feet that don’t grip
  • Imbalanced loads or a faulty drum suspension
  • Hard surfaces like wooden or tiled floors that transmit vibration
  • Often it’s a combination: an old wooden floor that flexes slightly, a heavy front-loader on one foot that’s a millimetre shorter, and a spin cycle that amplifies every wobble. The good news is that the first-line fixes are cheap and low-effort.

    What you’ll need (most of it under £10)

    These are items I bought locally and online — none of them require an electrician or specialist tools:

  • Self-adhesive felt pads (big ones, 40–60mm) — for example, the thick furniture felt pads you find at B&Q or Amazon
  • A thin plywood shim (around 3–6mm thick) — I cut one from a 30cm x 30cm scrap, or you can use pre-cut plastic shims
  • A rubber anti-vibration mat or thin sticky rubber pads (optional but helpful)
  • A spirit level (or an app on your phone)
  • A tape measure and marker
  • Adjustable wrench or pliers to adjust the machine feet
  • Most items cost under £10 total if you already have a few bits around the house. The felt pads were the cheapest game-changer for me.

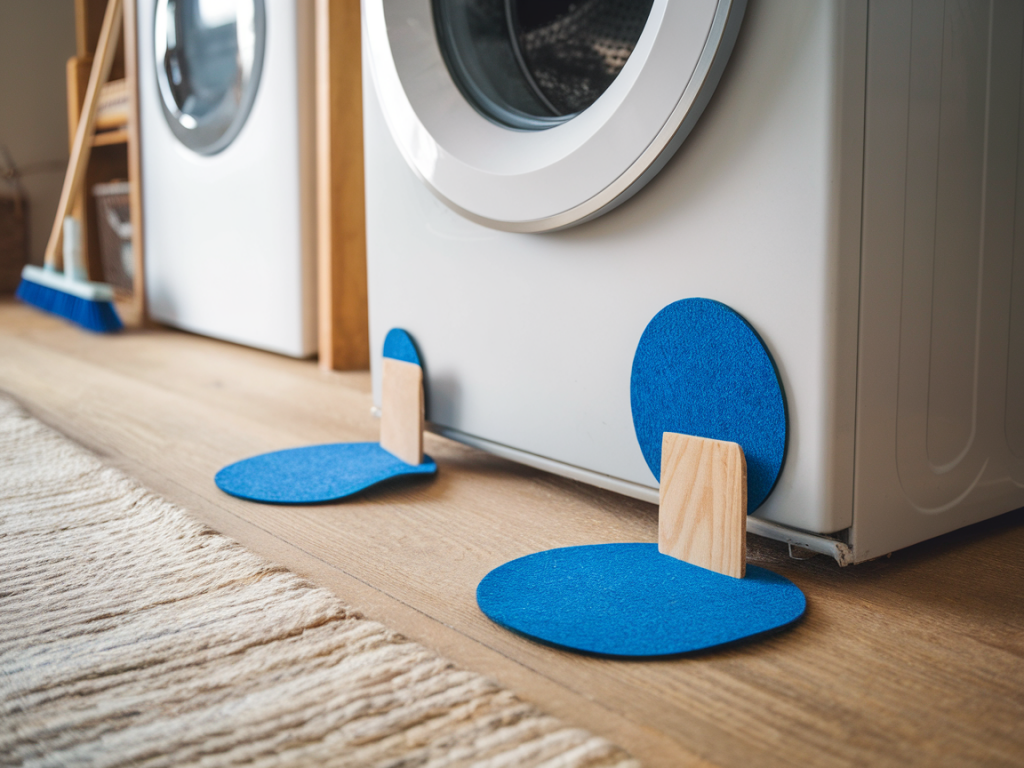
    Step-by-step: Calm the thump with felt pads and a plywood shim

    Here’s the approach I used, written as I would explain it to a friend — simple, direct, and practical.

  • Empty and move the machine slightly: Unplug the washer, and if you can, pull it out a few inches so you can access the feet. Have someone steady it if it’s heavy.
  • Clean the floor under each foot: Sweep and wipe so the felt will adhere well. Grease, dust, or detergent residue can stop adhesives from sticking.
  • Test the level: Place your spirit level across the top of the machine — side-to-side and front-to-back. Note which side or corner is lower.
  • Adjust the feet: Most machines have adjustable feet you can twist to raise or lower them. Use a wrench to get the machine roughly level, using the spirit level as your guide. Don’t over-tighten — you want the weight evenly distributed on all feet.
  • Apply felt pads: Stick a single thick felt pad under each foot. If the pads are round and your washer feet are small, attach one pad per foot. For wider feet, use two overlapping pads. The felt reduces sliding and dampens vibration by adding softness between metal and wood.
  • Add a plywood shim where needed: If one foot remains marginally lower, cut a small shim from thin plywood (I used 4mm). Slide it under that foot, then fine-tune the height using the adjustable foot. The combo of shim plus felt gives a firm, cushioned support.
  • Consider a rubber anti-vibration mat: If you still feel vibration or noise through the floor, place a thin rubber mat under the whole machine, then put the felt pads back on top of the mat. Brand note: I’ve had good results with simple kitchen anti-slip mats; there’s no need to buy an expensive commercial washer mat unless your floor is particularly problematic.
  • Run a test spin: Put a towel and a small load in and run a quick spin to test. Re-check the level and feel underfoot — you should notice a drastic reduction in movement and noise.
  • Why felt pads work (and which type to choose)

    Felt pads are a low-tech solution but extremely effective for wooden floors because they:

  • Increase friction to prevent the feet slipping
  • Absorb high-frequency vibration that causes “thumping” noises
  • Protect wooden floors from scratches and scuffs
  • Choose thick, dense felt rather than thin, decorative furniture pads. The ones I prefer have a felt thickness of at least 3–6mm and a strong adhesive backing. Brands like Scotch or store-brand heavy-duty felt pads work well; the important thing is density and adhesion.

    Quick fixes under £10 — what I tried and what worked best

    Here’s a small table I put together showing common low-cost fixes and how effective they were in my tests:

    FixCost (approx.)Effectiveness
    Thick felt pads£3–£6High — instant improvement in grip and quieter spin
    Plywood shim (small piece)£0–£2 (scrap)High — levels out uneven feet nicely
    Rubber anti-slip mat£5–£10Medium to high — reduces transferred vibration
    Replacing worn rubber feet£5–£15High (if original feet are degraded)

    When to call a professional

    If you’ve tried these tweaks and the machine still walks, it may be an internal problem: broken springs, damper failure, or a serious imbalance in the drum. Signs you should call a repairer:

  • Loud knocking from inside the drum during agitation
  • Persistent walking despite a level machine and good feet
  • Visible damage to suspension springs or dampers
  • For me, the felt-and-shim method solved 90% of the problem. If you reach the limit of DIY fixes, a laundry appliance repair service (many local plumbers also offer appliance repairs) is worth the estimate. Sometimes a simple replacement of suspension dampers is the answer.

    Extra tips I learned along the way

  • Try redistributing heavy items (duvets, towels) across multiple loads. Very unbalanced loads will still cause thumping even on a perfectly level floor.
  • Label the machine feet after adjusting so you can quickly restore settings after cleaning behind the machine.
  • If you rent, choose removable solutions (felt pads stick but come off cleanly) and keep any spare parts you remove.
  • Keep a small pack of spare felt pads in your utility drawer — they’re useful for furniture too.
  • If you try this and it helps, I’d love to hear about it on Restoring Daisy — little wins like these are exactly the kind of thing I enjoy sharing. If it doesn’t solve the issue, tell me what you tried and what the machine’s behaviour is like; sometimes a different tweak is all that’s needed.