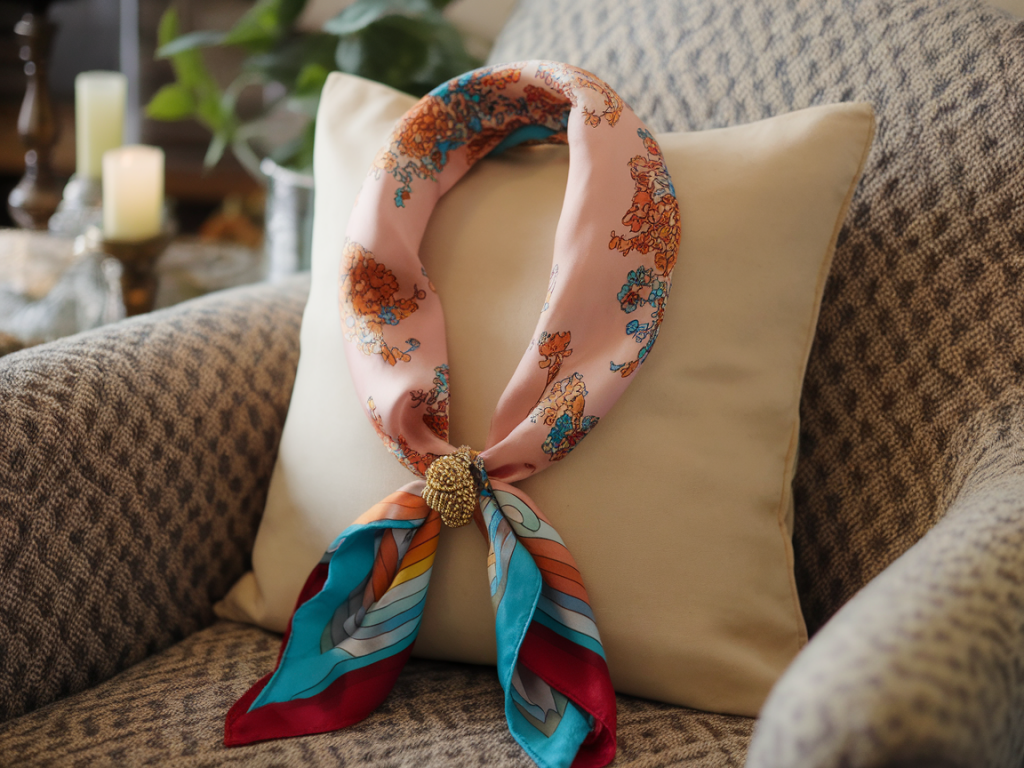
I love rescuing small bits of fabric and giving them a new life — it feels both thrifty and quietly joyful. One of my favourite quick projects is turning an old scarf into a forgiving, no‑sew cushion cover. It takes about 20 minutes, needs only a few household supplies, and works even if you’re not confident with measurements or sewing. I’ll walk you through a couple of easy methods, share tips for choosing the best scarf, and answer the questions I get asked most.
Why a no‑sew cushion cover?
There are days when I want a little refresh — a new colour on the sofa, a seasonal accent, or a way to hide a faded cushion — but I don’t want to drag out the sewing machine. A no‑sew cover is forgiving: it’s easy to adjust, reversible, and you can reuse the scarf later. It’s also a gentle way to practise simple DIY without pressure, which is what I aim for here at Restoring Daisy.
What you’ll need (and why)
- One large scarf — silk, wool, chunky knitted, or lightweight cotton. The size and stretch matter (I’ll cover that below).
- A cushion pad or old cushion — square or rectangular. Common sizes: 16x16in (40x40cm), 18x18in (45x45cm), or 20x20in (50x50cm).
- Optional fastenings — safety pins, iron‑on hem tape (like Terial Magic or Hem‑Tape), fabric glue, or adhesive Velcro strips.
- Soft measuring tape or ruler — useful but not essential.
- Iron — only if you’re using iron‑on tape; otherwise you can skip ironing.
- Small scissors — for trimming loose threads.
Which scarves work best?
Not all scarves are equal for this project. Here are the types I reach for:
- Large rectangular scarves (e.g. 70x200cm): ideal for larger cushions because they give plenty of overlap for tucking.
- Oversized square scarves (e.g. 90x90cm): great for 18–20in cushions — they fold neatly into an envelope style.
- Chunky knits: add texture and make a cosy cushion, though they can be bulky; consider a slightly smaller insert.
- Silk or satin: lovely for a delicate look but a little slippery; use Velcro or a few discreet safety pins to keep it in place.
A tiny scarf (30x30cm) won’t cover a standard cushion unless you’re making decorative layering pieces. If in doubt, place your cushion on the scarf and see how much overlap you have — you want at least 5–10cm overlap on each side for a neat tuck.
Method A: The quick envelope tuck (no tools)
This is my go‑to when I want to change the look of a cushion in under 5 minutes. It’s reversible and leaves no marks on the scarf.
- Lay the scarf face down on a flat surface.
- Place the cushion pad in the centre.
- Fold one edge of the scarf over the cushion, then fold the opposite edge on top so they overlap in the middle (like an envelope).
- Adjust the fabric so the corners are neat. Tuck excess fabric into the sides to smooth the silhouette.
- If the scarf feels loose, slip two small safety pins inside where the overlap meets the cushion — fasten through several layers away from the visible side.
Timing: about 2–5 minutes. This method works best with scarves that don’t slip too much — textured weaves and wool blends are ideal.
Method B: More secure with iron‑on hem tape (20 minutes)
If you want a neater, slightly more permanent finish that still needs no sewing, hem tape is my favourite. It’s affordable (brands like Dritz or Vlieseline make good options) and holds well if you follow the instructions.
- Lay the scarf right side down. Fold the raw edges over twice (about 1cm each fold) to create a clean hem.
- Insert a strip of hem tape between the folds.
- Press with a hot iron for the time recommended on the tape packaging. Work on a low to medium heat appropriate for your scarf fabric.
- Let cool, then turn right side out and place the cushion pad inside using the envelope tuck or an overlap closure.
Timing: 15–20 minutes including ironing and cooling. This approach gives a tidier edge and makes the cover look like a shop‑bought cushion without any stitches.
Method C: Removable closure with adhesive Velcro (15 minutes)
If you want the cover to be removable and machine washable, adhesive Velcro strips are a simple solution. Choose a strong fabric Velcro designed for textiles.
- Fold one short edge of the scarf over about 1–2cm and press (or use a few tiny dots of fabric glue to hold).
- Stick one side of the Velcro to the folded edge and the matching side on the opposite part of the scarf where the overlap will meet.
- Press firmly, leave for the adhesive to set, then assemble the cushion using the envelope method.
Velcro is forgiving — it lets you close and open the cover for washing, though very delicate fabrics may show the adhesive. For silk, test on a tiny corner first or choose sew‑on Velcro instead.
Styling ideas and finishing touches
- Add texture: Layer a smaller plain cushion in front to balance a busy scarf print.
- Mix fabrics: A silk scarf over a chunky knit cushion pad creates a luxe contrast.
- Trim with ribbon: Hide a few safety pin ends with a thin ribbon looped over the seam.
- Labeling: If this is a gift, slip a small card under the fold explaining it’s a no‑sew cover and how to care for it.
Common questions
Will this hold up in the wash? It depends on the scarf fabric and the fastening. Envelope tucks are fine if the cushion pad is kept clean; use removable closures (Velcro) or iron‑on tape if you plan to launder the cover. Always check the scarf’s care label.
My scarf is slippery — how do I keep it from shifting? Use tiny safety pins hidden within the folds, or a few dots of washable fabric glue on the inside surfaces to prevent slipping without damaging the fabric.
Can I make a fitted look without sewing? You can trim bulk by using a slightly smaller pad, or secure the corners inside with clear elastic bands hidden at the seams — they pull the fabric in for a tailored shape without stitching.
What about durability? A no‑sew cover won’t be as durable as a stitched one if it’s used heavily. For decorative cushions on occasional chairs or sofas, these covers are perfect. If you want everyday durability, consider using hem tape and Velcro together, or turn this into a temporary solution while you sew a permanent cover later.
I hope this encourages you to look at the scarves in your drawer a little differently. It’s a small change that makes a room feel refreshed, and because it’s forgiving you can try different fabrics and arrangements without worry. If you try one of these methods, I’d love to hear how it went — drop a note on the blog at https://www.restoringdaisy.co.uk or tell me what scarf you used and where the cushion lives now.