I had an old pine side table that had once been lovingly varnished but, over the years, had grown dull, uneven and a little thirsty-looking. I didn't want to sand it back to raw wood or spend a fortune on professional restoration. What I did want was a simple, two-hour refresh that brought life back to the grain using beeswax and oil — a gentle, Nourishing finish that feels timeless and approachable. If you have a similar piece, here’s a method I use again and again, plus tips for tricky spots, product suggestions, and answers to the questions I used to Google.
Why beeswax and oil?
Beeswax and natural oil (like tung oil, Danish oil, or a good-quality linseed) make a lovely partnership. The oil soaks into the wood, nourishing and evening out the colour; the beeswax adds surface protection, a soft sheen, and water resistance without the hard-gloss look of varnish. Together they’re forgiving, forgiving for imperfect surfaces and perfect for a quick refresh that still looks intentional.
What you’ll need (simple kit)
Two-hour refresh: step-by-step
This is a relaxed, two-hour routine. It’s perfect for a weekend afternoon — no stripping, no heavy sanding, just sensible prep and layering.
Lightly clean the surface. Mix a little mild detergent in warm water, dampen a cloth, and wipe down to remove dust, grease and fingerprints. For sticky spots I add a splash of white vinegar. Dry fully with a clean cloth — wood must be dry before oiling.
If the finish has small scratches or dull patches, rub very lightly with #0000 steel wool or 220–320 sandpaper wrapped around a block. Work with the grain and use feathering passes to avoid creating shiny, uneven zones. Wipe away the dust with a tack cloth or damp cloth and let dry.
Apply a thin, even coat of your chosen oil using a lint-free cloth. Rub in with the grain, allowing the oil to penetrate for 10–15 minutes. Wipe away any excess — this step matters because pooled oil can remain tacky. For porous woods (pine, oak) you might see the wood drink in the oil; that’s good. Let the piece rest for at least 30 minutes; if the wood is thirsty you can repeat the quick rub-in then wipe off.
After the oil has been allowed to sit and you’ve wiped away excess, lightly buff the surface with a clean cloth to even the sheen. If the oil recommends a curing time (boiled linseed oil), follow the manufacturer’s guidance — but for a surface-refresh, a couple of hours of drying is usually enough before waxing.
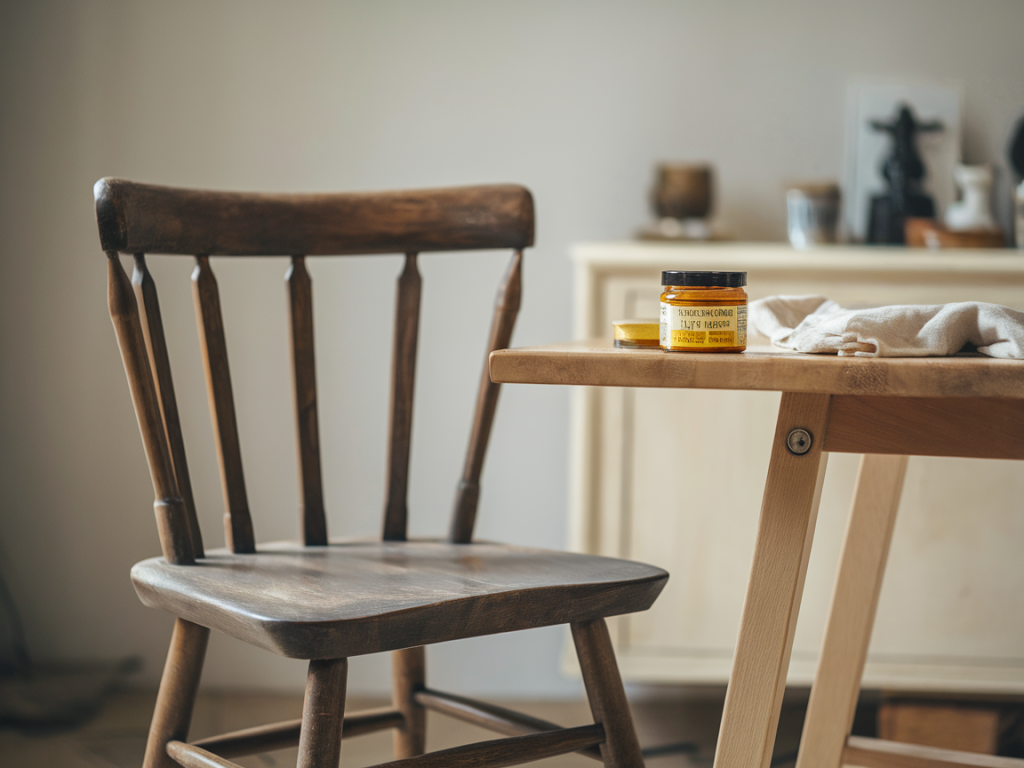
Warm a small amount of beeswax until it’s soft (a jar of paste can be warmed in your hands). Apply a thin layer with a cloth, working it in circular motions. For carved areas or grooves use a small brush to press wax into details. After a few minutes, buff vigorously with a clean cloth until you achieve a soft sheen. The wax both protects and enhances the depth of the wood grain.
Give the table a final once-over with a soft cloth. The surface should feel smooth and look refreshed — richer in tone without appearing artificially glossy.
How durable is this finish?
This combination creates a durable, yet repairable finish. It stands up to everyday use better than bare wood and is far easier to touch up than varnished surfaces. Expect the beeswax to wear in high-use areas over months; simply repeat the wax step as needed. Avoid sitting very hot pans directly on the surface: while the wax adds water resistance, it’s not a heat shield.
Common questions I get
Yes, but test first in a hidden spot. If the paint is fully cured and stable, a light oil/wax refresh can add sheen — though it may slightly deepen the paint colour or sheen.
Pure beeswax and food-safe oils (like certain formulations of tung or food-safe mineral oil) are fine for surfaces that touch food. If you want a fully food-safe finish for chopping boards, use products specifically labelled as food-safe.
Deep stains, rings or flaking finishes may need stronger intervention: spot-sanding or a chemical stripper followed by a full re-oil. For light water rings, try a gentle mix of baking soda and water as a poultice first, or very light sanding.
Some people mix melted beeswax with oil to create a paste — this works well for a salve-style application and is handy for quick touch-ups. If you make your own, keep the ratio thin (more oil than wax) so the paste spreads easily and doesn’t become tacky.
Products I like
| Oil | Tried & True Original, Osmo TopOil, or Watco Danish Oil |
| Wax | Liberon Beeswax Paste, Otter Wax, or a simple block of pure beeswax |
| Cleaner | Murphy’s Oil Soap or a mild vinegar solution |
On Restoringdaisy (https://www.restoringdaisy.co.uk) I often share small product notes and before/after photos when I try something new. If you try this two-hour refresh on a piece, I’d love to hear how it looks — send a photo or leave a comment. Small rituals like this have a way of making a room feel cared for again, and I find that tending to one object can restore a little of our own calm, too.