I had a patchy, tired plaster wall in my little sitting room for months. It was one of those walls where every repair looked like a blip on a map — pale squares, darker circles, and a textured mismatch that caught the light in all the wrong ways. I didn’t want to replaster the whole wall or call in trades when my budget and patience were both low. So I gave the wall a quiet little makeover using a £30 Ikea hack and a few simple paint tricks. It’s calm, inexpensive, and — most importantly — it made the room feel like mine again.
Why this approach?
When I try a DIY fix, I aim for three things: it should be affordable, forgiving for a beginner, and visually calming. Big renovations are lovely, but small, thoughtful changes often do more for my confidence. The aim here was to disguise the uneven plaster without pretending it never happened — to make the wall read as intentional rather than patched.
What I used (basic shopping list)
Everything cost me under £30 if you already have a few basic tools at home:
Ikea LACK wall shelf (or two, depending on the wall length) — around £5–£12 eachSample pot of emulsion (mat finish) — £3–£6Small tub of eggshell or satin paint for a contrast strip — £8–£10Painter’s tape (low-tack)Small roller and mini traySanding sponge and filler (if needed)If you don’t own sandpaper, a filler knife, or a small roller, allow an extra £5–£10. I kept my total near £30 by using one LACK shelf and one sample pot, plus paint I already had for touch-ups.
The Ikea hack concept
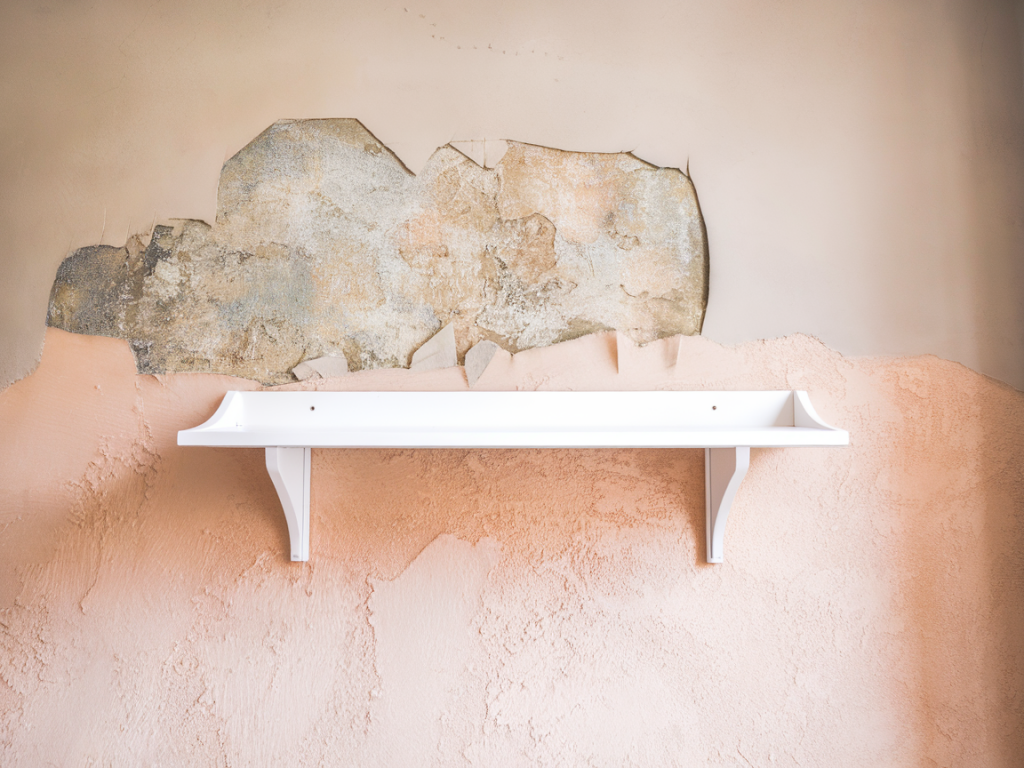
The hack is wonderfully simple: use an Ikea LACK shelf as a wall-mounted ledge to create a horizontal visual break. The shelf draws the eye, breaks up the patchy area, and gives you a chance to add a neat strip of contrasting paint below it. This trick disguises irregularities above and below the shelf and adds a curated, intentional look to the wall.
Step-by-step
I’ll walk you through exactly what I did. Don’t worry if you’re new to this — these steps are forgiving and easy to adapt.
Prep the wall: I cleared the area and gently sanded the most prominent bumps with a sanding sponge. If you have loose plaster or holes, use a small filler to smooth them. Let it dry and sand again lightly. You don’t need perfection; just reduce the highest ridges so the shelf will sit nicely.Decide the shelf height: I measured so the shelf sits about knee to chest height for a cosy look. A horizontal line naturally masks a band of patchiness. Use a pencil and spirit level to mark where the top edge of the LACK shelf will sit.Paint a primer coat if needed: If your wall has very dark patches, a cheap primer or a sample pot of mid-toned emulsion helps even the base. I used a small sample pot in a warm neutral and rolled a thin coat over the band where the paint contrast would go. Let it dry completely.Mount the LACK shelf: Ikea’s LACK is light and easy to mount. Follow the included instructions and use wall plugs suitable for your wall type. Because I had some unevenness, I used the longest screws the bracket allowed to pull the shelf tight against the plaster. If your plaster is crumbly, pick longer, heavier-duty fixings or consider a couple of rawlplugs to spread the load.Paint the contrast band: Below the shelf I painted a horizontal band in a slightly deeper or glossier tone. I used eggshell for a subtle sheen that catches light pleasingly and disguises textural differences. Painter’s tape helped get a clean top edge directly below the shelf. Two thin coats look better than one heavy one.Style the shelf: Add a few simple objects — a small plant, a stack of books, and a framed print. These elements guide the eye and reinforce the intentionality of the shelf, further distracting from uneven plaster.Paint tricks that make a difference
Paint choice and finish matter far more than I first realised. Here are a few tricks I now use every time I want to disguise surface imperfections:
Choose a matt or eggshell finish for walls: Full gloss highlights bumps. A matt emulsion hides texture by reducing reflected light. I used a matte sample for the main wall and eggshell for the band under the shelf because I wanted a gentle contrast.Use mid-tones rather than very light or very dark colours: Extreme lights show every shadow, and very dark tones can make uneven areas look more pronounced. A soft mid-tone lets the wall read as one plane.Create a focal strip: A horizontal band of a slightly different finish or tone keeps attention on the design rather than the plaster. It also gives you permission to leave the rest of the wall imperfect.Keep brush strokes subtle: Use a mini roller for even coverage. If you must brush, go with long, even strokes and then smooth with a light roller pass while the paint is still wet.Common questions I had — and answered
Here are the things I wondered about (and how I resolved them):
Will the shelf fall off plaster walls? Not if you use the right fixings. I used wall plugs and screws rated for plasterboard and didn’t overload the shelf. Lightweight styling keeps it safe.What if my wall is really bumpy? If there are deep hollows or flaking plaster, a pro repair might be safer. But for a typical patchy surface, sanding, a skim of filler, and careful paint will work wonders.Can I use wallpaper instead? Yes — but paper highlights seams if the plaster is very uneven. The shelf-and-band approach is more forgiving.How permanent is this? It’s easily reversible. If you want to replaster later, remove the shelf, sand lightly, and repaint.Quick reference table: cost and time
| Item | Approx cost | Time |
| Ikea LACK shelf | £5–£12 | 20–30 mins to mount |
| Sample pot paint | £3–£6 | 30–60 mins per coat (plus drying) |
| Small tools / filler | £0–£10 | 30–60 mins for prep |
After finishing, the wall felt calmer. The shelf gave me a purposeful focal point and the painted band made the whole thing read as a considered design choice. It’s the kind of fix I enjoy: small, cheap, and kind to my nerves.