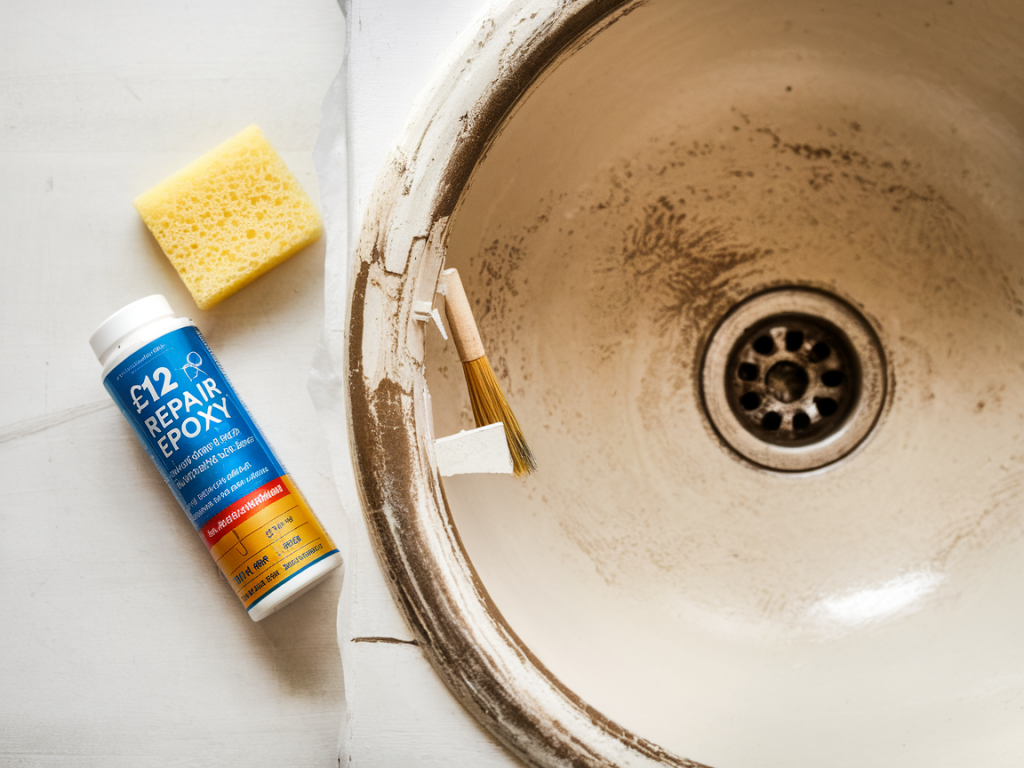
I chipped the corner of my ceramic sink last autumn while trying to wrestle a heavy roasting tin into the drainer. It was one of those small household accidents that suddenly makes a space feel neglected — every time I washed up, my eye kept going to the pale crescent of missing glaze. Replacing the sink felt excessive. What felt right was a small fix, done carefully and with a little patience. I spent about £12 on a ceramic repair kit, followed the steps below, and the result surprised me: the chip is barely noticeable and the sink looks refreshed. I’ll walk you through exactly what I did, the tools and materials I used, and the things I learned along the way.
What you need (and what that £12 gets you)
I bought a basic ceramic repair kit online — many of these are billed as “ceramic/glazed porcelain repair kits” and cost around £10–£15. The kit I used included a small tube of two-part epoxy filler, a tiny pot of colour-matching glaze paint, a mixing stick, and a thin applicator. I also picked up a small pack of fine-grit sandpaper and a disposable brush for blending. Here’s a quick list:
- Ceramic repair kit (two-part epoxy filler + glaze paint) — approx. £12
- Fine-grit sandpaper (400–800 grit)
- Rubbing alcohol or a mild detergent
- Masking tape and a cloth
- Disposable gloves and a mixing palette or small piece of cardboard
- Small artist brush or applicator (some kits include one)
- Optional: clear acrylic polish or carnauba-based sink polish for extra gloss
| Stage | Time |
|---|---|
| Cleaning and prep | 15–30 minutes |
| Filler application and curing | 1–3 hours (depending on product) |
| Sanding & touch-ups | 20–40 minutes |
| Final glaze/coating and curing | 2–24 hours (follow kit instructions) |
Preparing the area
Preparation is where this repair lives or dies. I cleared the sink area, removed anything that could interfere, and dried the sink completely. I used a soft cloth and warm soapy water first to remove grease and then wiped the chip with rubbing alcohol to take off any remaining residue. It’s important the area is completely dry — epoxy won’t adhere well to damp surfaces.
If the chip had any loose flakes of glaze, I gently removed them with a fingernail and then rinsed. For larger, deeper chips you may need to undercut a little to create a stable edge, but for my shallow corner chip it wasn’t necessary. I taped a small border of masking tape around the chip to protect the surrounding glaze — this helps keep your repair neat.
Mixing and applying the filler
Most inexpensive kits use a two-part epoxy filler: a resin and a hardener that you mix in a tiny ratio. Read the instructions on your pack carefully — mixing it wrong is the most common mistake. I mixed just enough to fill my chip; epoxy can be wasteful if you overmix because it cures quickly.
Using the small applicator that came with the kit, I pressed the filler into the chip, making sure there were no air pockets. I slightly overfilled the area so that after curing I could sand it back flush with the sink surface. It helps to work with a calm hand and a steady breath — these small repairs reward patience. Let the filler cure fully before doing anything else; the kit I used needed around 1–2 hours to set enough for sanding and a full cure overnight.
Sanding and shaping
Once the filler was hard, I sanded it smooth. I started with a finer grit (around 400) and finished with 800 grit to match the sink’s glossy surface as closely as possible. Use gentle, circular motions and keep checking the edge where the repair meets the original glaze. The aim is to make the transition seamless without creating a hollow (which would show up as a shadow).
Be careful not to sand the surrounding glaze too aggressively. If your filler shrinks slightly as it cures — which some do — you may need to apply a second thin layer, repeat curing, and then sand again. It’s better to do multiple thin fills than one thick blob.
Colour matching and glazing
This is the magic bit. The small pot of glaze in the kit is where you can make the repair blend in. Most kits give you several basic colour tones to mix; I tested on a scrap piece of cardboard until I found a close match. With white ceramic sinks, the finish is often a cool, slightly blue-tinted white. I mixed a smidge of off-white with a tiny hint of grey and blue to mimic that factory glaze. Trust me — less is more. Paint on thin coats.
Apply the glaze with the finest brush you can manage. Light, even strokes work better than trying to blob on one thick layer. Allow the glaze to dry and cure as per the kit instructions — many recommend 24 hours before you return the sink to regular use. If the kit’s glaze doesn’t fully match the original gloss, a final light buff with a polish designed for sinks can add shine and help everything blend.
Finishing touches and maintenance
After the repair cured I removed the masking tape and gently polished the area. A small dab of clear acrylic polish — or a product made for ceramic surfaces — brought the repaired patch up to a similar sheen as the rest of the sink. The repair has held up well for months now with daily use. I treat the sink with care for the first week (no heavy pans, avoid abrasive cleaners) and thereafter clean it as usual with non-abrasive detergent.
Common questions I get asked
- Will this last? For small chips and nicks, yes — a properly applied epoxy and glaze can last for years. It’s not as durable as factory glazing but it will withstand normal use.
- Can you repair larger cracks? Larger cracks or structural damage may need a plumber’s evaluation or a replacement. Surface chips and shallow holes are ideal for a DIY kit.
- What about colour matching? It rarely matches perfectly, but a good match and careful glazing can make a chip inconspicuous. Natural wear elsewhere in the sink helps the repair blend in over time.
- Is the repair food-safe? The repaired area isn’t used for food preparation directly (this is a sink), and once cured the epoxy/glaze is inert. Still, avoid direct contact with open food surfaces and always use non-toxic, labelled products.
Repairing that little chip felt modest but meaningful — a small act of care that changed how my kitchen felt. It’s satisfying to restore something instead of replace it, and often the smallest improvements give the biggest boost to how a space reads. If you try this yourself, take your time, read the product instructions, and don’t be afraid to do a second pass if needed. I’d love to hear how your repair goes — leave a note on the blog or tag a photo if you share it online.